0 Comments
 Given the time and capital restraints on the project, it was more than likely that this entire project would not be completed or rather I wouldn't be able to make dent into it. Because as a high schooler with no requisite knowledge of any of tasks I needed to complete, making a product from scratch took much longer for me than any other real engineer. But its the concept that trying counts that makes it most worth it for me. The task, I admit was daunting to begin with. I knew nothing and was capable of nearly nothing at the time with only a little knowledge of computers and a will to try at least anything. Building something from the ground up wasn't something I had expected to do for my genius project. I really did expect to use the website I had created for my cooking blog instead. However, setting my sights on something so high allowed me personally to achieve something below it but even then it was a lot that I was able to create. To know that I do still have potential in the skill area presented, to know that my efforts were not entirely wasted was the real goal of it all. Making a statement to those that discourage biting more than you can chew. However, it can be stated that I did just that. However, it wasn't all bad that I failed, which is probably the key difference in other works I've done. It was also a revelation that passion truly does matter in the end, because without I would have never gotten this far into the project and kept at it for 2 years. But this is the it, this is what I've been to scrape together in the past two years of my life at this point in time. It may not be a money maker but whats more important is that I was able to do it at this point. 2 years in the creation, 2 years of passion driven hard work.
 Development takes a bit of getting used to. Since childhood, most people would be told that they are so smart of naturally talented. Because of this over spoiled encouragement, the kids can tend to let this get into their very own existence which then natural makes them used to most things plopping into their hands perfectly. But as time goes on, whenever they are met with adversaries, it is not common for the kids to turn away instead of failing. But most people should know that failing is only part of the learning process. As for me, I kinda got all the failures towards more of the beginning of my career. Back in middle school I would fail a lot at almost everything. My grades weren't the best and I had to protest to be placed into the top math class instead of being automatically placed there. Since sixth grade, I've never truly been the best at anything and so the effect of the fear of failure was a lot less intense for me. But it wasn't entirely gone. All the way till high school would it continue. Although people have called me "smart" or "gifted" it is always a good idea for humility and to stay humble. Talk less and listen more. You always know less than the person next to you. Through out this project, I have learned many things that I can see a common pattern of occurrence Time and time again I failed to create the perfect model my first try, which did really frustrate me at first. But after making the 17th model of the same thing, I finally get it. Failure is only part of the learning process. Each time there is a new model, there is more improved. It comes in versions and generations, not perfect all at once. All this project really is, is the journey of failures to learn the most.
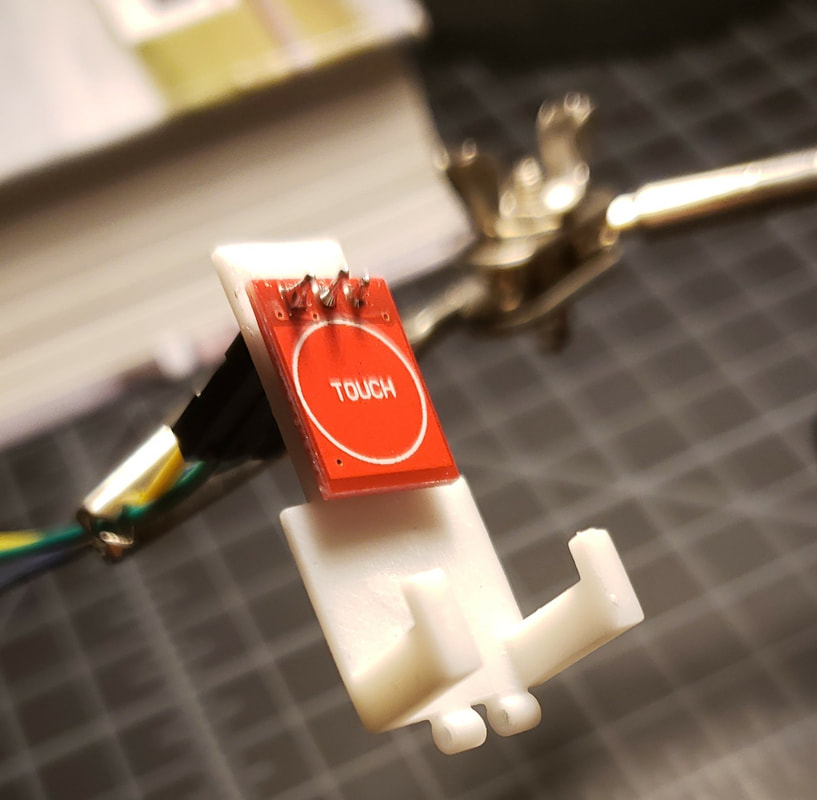
 After the last few months of toiling away at the project working on it step by step, there comes the exciting moments when the whole things comes together. Sometimes its as good as you can get it but other times it won't even fit. And then you realize that you designed the parts incorrectly. But in this case, it was an easy fix. All I had to do was to sand the inside. After that, I easily slid the trigger switch board into place. Excitingly, it fit and is in the place exactly as I intended it to be. This assembly marks the beginning of the project's true purpose coming to life. The project now will be soon held in the hands of the user and be able to type away freely. As February closes, I spark the beginning of the functionality of the creation. I hope to get this really working well soon.
After having a good ol'chat with one of the professionals in the room, I was inspired by the advice that they gave us. My professional was our principal, Mr. Morales. He is a visionary. When talking to him, he channeled his will through me and to my project. His advice simple, vision. See the product in the audience's hands, let them experience what I've created, and most of all, see myself on the stage in front of hundreds of people. I thought this was great advice for not just this project but also my life as an engineer in the future. It was going to be a different kind of presentation. One that brings me to the audience, not the audience to me.
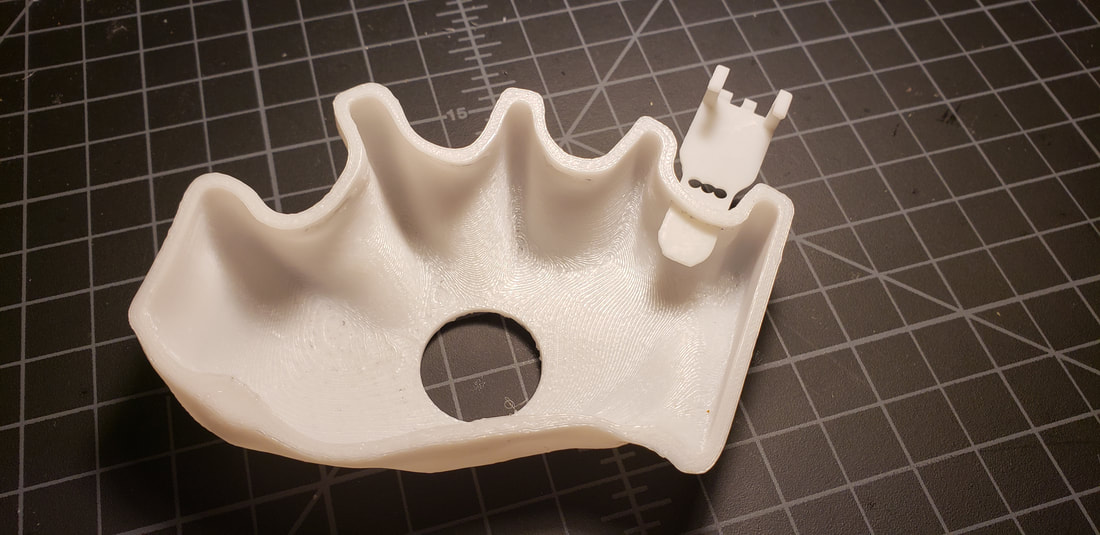
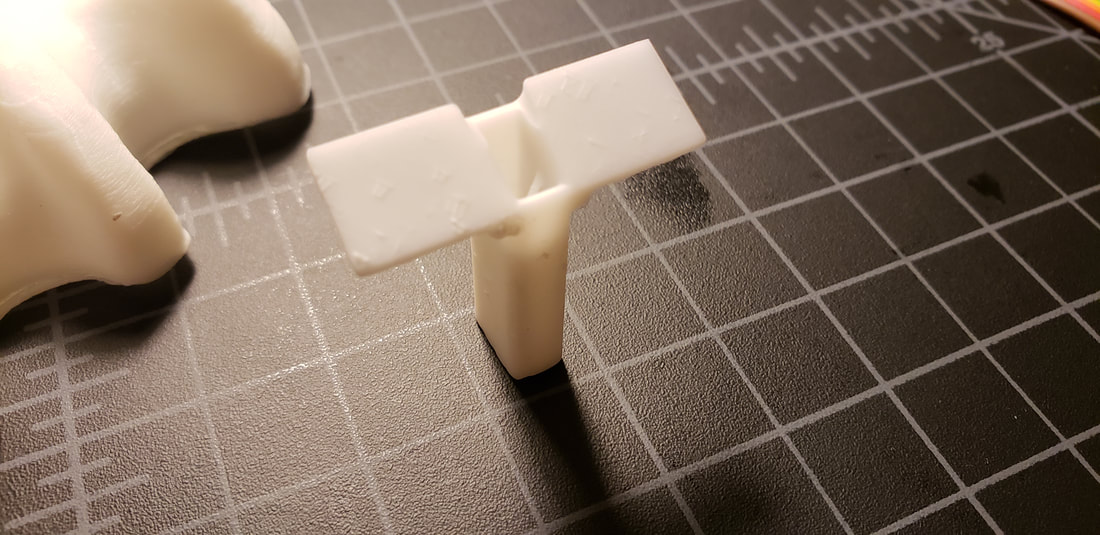 This is the up switch. The switch model is created so that it can utilize the angle of the finger in the up wards motion of the first finger segment. The butterfly model with the wings and a pillar give it elevation but also allow the canopies to take inputs from 2 fingers at a time. This allows for less pillars stemming from the dorsal half. The shaft provides a pathway for the wiring to get into the inside of the skeleton, making it nice and clean. 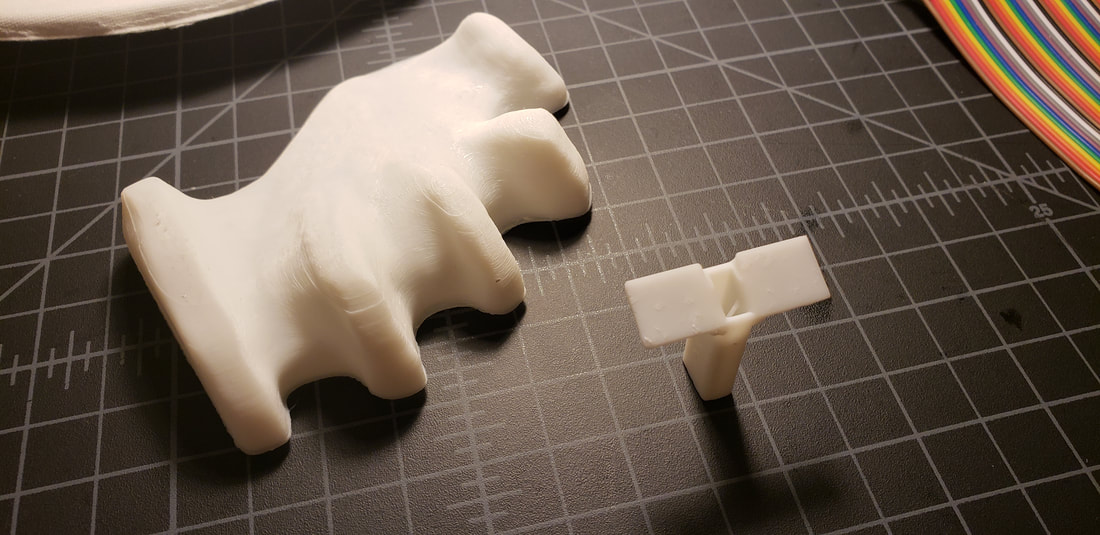 The ideal way to assemble this into the model is through cutting part of the spacers between the index and middle fingers from on top and giving it a place to slide it into. Then again between the ring finger and the pinky. After finishing this, I will need to implement the pressure analog sensors to detect pressure inputs.
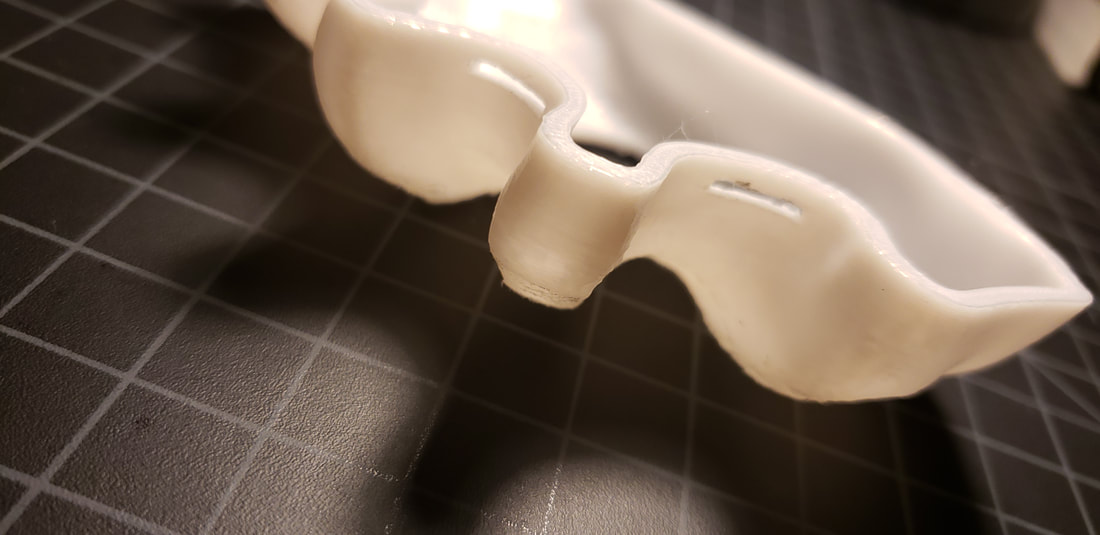 November 2018, It was about that time when I started to finalize the first few switch models of the NGR. The down switch was the first of the switches to be created and so I further refined the down switch until its near completion. The model was also updated with a new white finish and also I implemented holes on the ventral half of the skeleton model for the wires to thread through as well as shelves for the lips of the switches to slide into. Overall, the skeleton is nearing its completion and soon I will have the dorsal half completed as well.
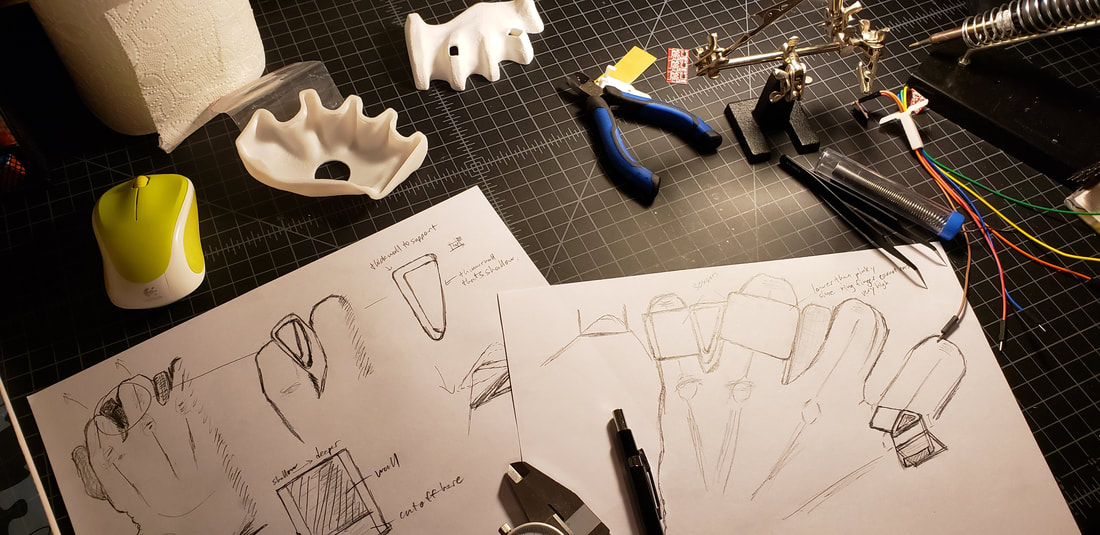
June 13th, I was able to secure the resources I needed for the project to progress. At Viasat, I was able to consult my mentors about my project in both software sides of the process as well as the hardware and electrical side. My components started small with the simple whim of basing the keyboard on the natural grip. So naturally, I borrowed some modeling clay from out 3d design teacher at Sage Creek and started figuring out the basic shape of the natural grip. Simply gripping the clay generated the base design that I would use for the future skeleton of my components. Take that model I created and then cut off the very extraneous corners and cracks and slice off proprietary parts that jut out awkwardly and the first clay model would be created. To then look like this:  So pretty normal, a basic model of the inside hand formulated to be fitted to my left palm. Initially I tried to smooth out the edges with my fingers and make then as crisp as possible. However since I wasn't able to take off material fast and equally that way, I resorted to using a blunt knife that would grind off chips of the model thin and quickly. Then taking this model, I wanted to translated it into STL format which is the file format that allows 3d printers to use. So to do this I had the option of getting it 3d scanned at a library and then pay 50 bucks which was extremely inefficient, or I could use the new technique called photogrammetry that allows the user to take photos from an equal distance away and then move around the object in a circle. Software that regenerates the model analyzes the differences from each photo and generates a sparse point apparatus. This apparatus is then able to be used to generate the lines of the first dimension, then moving on the triangles between the lines and the points, the model then gets the triangles regenerated. Next comes the mesh that is created by fully connecting all of the triangles so that they join together and the software predicts where the points are going to go. After to the full regeneration of the model in a set 3d space, I need to fix the imperfections that really messed me up. In the 3d modeling space, there were many cracks in model that didn't patch correctly, so using the Meshmixer software, I was able to fix all the things that had. And then further printing generated this:   At this time, I have been able to create a switch that functions through the GPIO daemon index which successfully gives me an output of a letter when inputing a motion.  |
AuthorSamuel Liu, Archives
December 2019

|


 RSS Feed
